Showing posts with label DIY. Show all posts

Monday, April 13, 2015

How to Use Clothespins to Display Jewelry

If you are a jewelry rep, you know that we all struggle with ways to display our beautiful pieces.  If you have been reading my blog, then you know that I've created a pegboard display and use j-hooks to hang my pieces.

However, I have a smaller display I've created and wanted to have more of a shabby chic kind of feel, so I decided to use clothespins to hold my pieces on my board.  Yup! Clothespins. They look really cute too.


Here's what you need:

  • Clothespins
  • Paperclips
  • Washi tape 
So, I opened up all the paper clips and inserted the clip into the metal spring of the clothespin. 


Then all you have to do is fold the paperclip so both legs are in back and pull it through one of the holes in the pegboard.  


Then in the back of the board spread the paperclip legs out to the sides, this will ensure your clip doesn't slide off the board when you clip jewelry to the pin. 


I decorated all the pins prior to securing them to the board. Make sure your washi tape is the same width as the clothes pin for a pretty finish. 

There you have it, a super easy and cute alternative to j-hooks. 


Wednesday, April 8, 2015

How to Make a Professional Looking Poster - Like the Pros

I am a "Gadget Girl".  I love any type of gadget that allows me to get as creative as possible.  There are times when a girl needs a very cool looking poster or print to use for a special event or just to add to a cool looking display.
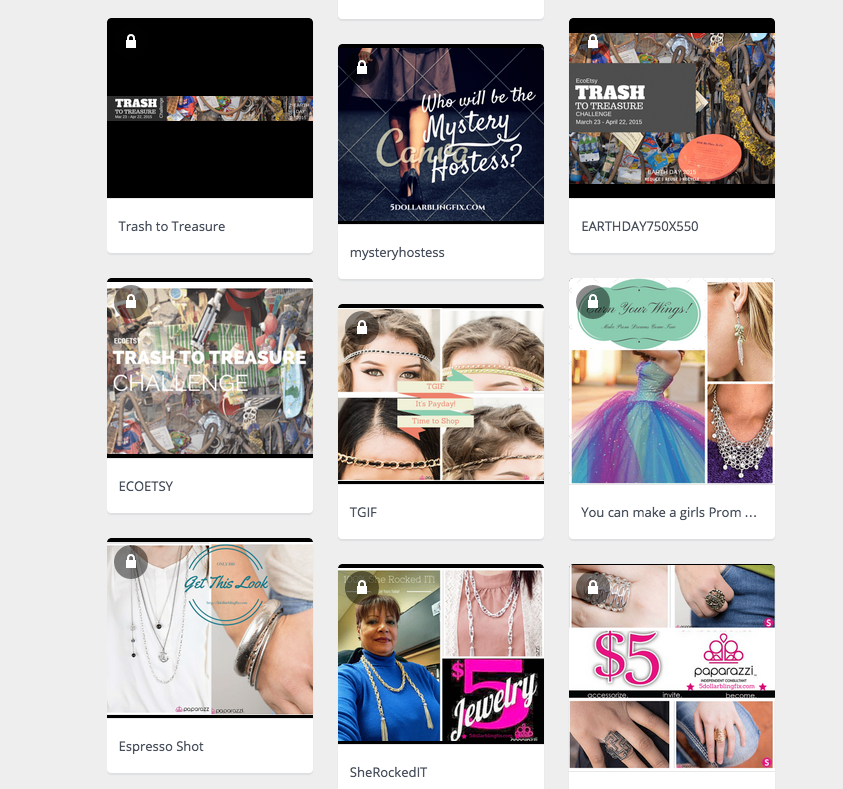
Creating a cool looking print is easy these days, especially is you lack Photoshop or Illustrator skills. There are a tons of tools out there to help you create, print and laminate your prints.  So I thought I'd share a few tricks I have up my sleeve for getting these done.

Let's start with a cool tool that anyone can use, Canva.com.  Canva is loaded with cool premade layouts that can be altered to fit your needs. You can upload your own photos, add eye-catching text and then save to your desktop or share via social media.  You can then print your design using your inkjet or laser printer.

Here are a couple of designs I've created using Canva.com:


If you still have some hesitation about creating your own designs, then I have a solution for you - it's my other secret weapon - Fiverr.com where you can outsource someone else do complete a task for you for just $5 (the $5 dollar bill is my new favorite monetary fund - I sell $5 jewelry - I can get help for $5 buck - life is sweet)

I'm a Fiverr vendor myself but my time is limited and so when I'm in a crunch, I will hire other Fiverr vendors to help me out.  I recently needed a poster for my charity event fundraiser and I've been overloaded with work, so I turned to Fiverr.

I wanted a retro looking poster, so I turned to Artworkking on Fiverr.  What I got back was simply amazing and it was just $5.


The print was delivered in *.jpg format.  I then printed the flyer using my HP Envy Printer in full color.  Once printed, I laminated the print using my Purple Cow Hot/Cold Laminator (a very cool piece of inexpensive equipment).


There's a lot that can be done with this little laminator and a printer. I plan to share more in later posts. So for now, if you want to create a professional looking poster, give these resources a shot. 

I've love to read your questions and feedback, be sure to leave comments to this post. 


Tuesday, March 31, 2015

DIY Recycled Ring Box

I've been a on a display kick lately, I know. I like to have options and I like to prepare for events way in advance. I have a few community events coming up and I want to be ready.

So today, I'm going to share how to make a Ring Box from recycled items. This project requires NO GLUING, NO SEWING, NO COMPLICATED STEPS.  If you are a reluctant crafter - this is an awesome project for you.

Here's what you will need:

1 - old box or box lid - it should be a low profile box.
1 - felt or fabric - old curtains and shirts work well.
1 - bag of cotton balls - on hand or from the $1 store.

Follow These Steps:

  1. Cut the fabric to the width of your box and make sure it's 2 - 3 times longer than your box. 
  2. Lay your fabric down and place cotton balls in a line on the fabric.
  3. Roll the fabric over the cotton balls, then place the fabric with the initial roll in the box.
  4. Lift the fabric and place a new line of cotton balls in the box.
  5. Lay the fabric over the new line of cotton balls.


Continue doing this until your box insert is complete.

For a visual on how to do these steps, check out my video:


Happy Crafting!